Starting a piece of writing can feel overwhelming, especially when you’re staring at a blank page. That’s where the rough draft comes in—it’s your chance to dive in, explore your ideas, and shape your thoughts into something tangible. A rough draft isn’t about perfection; it’s about progress. It gives you the freedom to experiment with structure, test your argument, and let your creativity lead the way.
In this guide, you’ll learn why a rough draft is important, the key components of a rough draft, and tips to make your rough draft writing process easier.
Table of contents
Why is a rough draft important?
How to write a rough draft in 5 steps
Step 1: Transition from your outline
Step 2: Write your introduction
Step 3: Develop body paragraphs
Step 4: Push through the roadblocks
Tips for writing an effective rough draft
How AI is changing the drafting process
Why is a rough draft important?
A rough draft is a critical step in the writing process. It’s your chance to write freely without worrying about anyone else seeing it. You can experiment, make mistakes, and follow ideas wherever they lead. This freedom allows you to discover your message, organize your thoughts, and build momentum.
Here are the primary benefits of a rough draft:
Builds momentum
- Experiment freely: It’s a low-pressure space to try out different styles, structures, or tones.
- Focus on content over correctness: You can concentrate on ideas before worrying about grammar or formatting.
- Improve time management: An intentional rough draft stage separates idea development from polishing, helping to keep you focused. This makes the entire writing process faster and more manageable.
Strengthens your ideas
- Clarify your argument: A rough draft helps you refine your thesis, supporting points, and overall message.
- Identify gaps: Moving from your outline to writing often helps you spot where more information, research, or clarification is needed to make your point.
- Catch major issues early on: Problems with content flow, logic, or development are more evident as you work through your rough draft.
Prepare for revisions
- See the full context: A rough draft lets you step back and evaluate how well your ideas connect and support your goals before refining.
- Get better feedback: A rough draft gives others something concrete to react to, making their input more useful and specific.
- Make editing less overwhelming: With a complete draft in hand, you can focus on improving one section at a time instead of rewriting from scratch when you receive feedback.
How to write a rough draft in 5 flexible steps
Writing a rough draft can be intimidating, but it should be seen as a creative phase rather than a final product. Your goal is to get ideas on the page in a loose form without worrying about grammar or transitions. Focus on developing your content and building momentum. Here are five simple steps to help you.
Think of these steps as a toolkit rather than a checklist. Write in whichever order works best for you.
Step 1: Transition from your outline
If you’ve already outlined your piece, you have a roadmap. Now, you just need to fill it in.
Start by choosing any section—introduction, body, or even conclusion—that feels easiest to tackle. You don’t have to write in order. Use your outline points to guide your paragraphs, but don’t feel locked in. If a new idea comes to mind, follow it. You can revise the outline later.
Example:
Outline point: “Main benefit of meditation = stress relief”
Draft: “One of the biggest benefits of meditation is its ability to reduce stress. Even just a few minutes a day can calm the nervous system and help you feel more [something].”
Step 2: Write your introduction
Many writers find the introduction the hardest part, so don’t stress if it takes a few tries. The goal is to introduce your topic, offer a little background, and clearly state your thesis or purpose.
Start with a hook—a compelling fact, question, or statement—that draws the reader in. Then, provide any context needed to understand your topic. Finally, present your thesis: the main argument or message of your piece.
If you find yourself stuck, you can leave the introduction for last. Writing an introduction after you have the rest of your draft is often much easier.
Example:
“Why do we always feel busier than we are? That’s the question I started asking after reading three different productivity books in one week. This piece explores how our obsession with being busy affects how we work—and how we live.”
Step 3: Develop body paragraphs
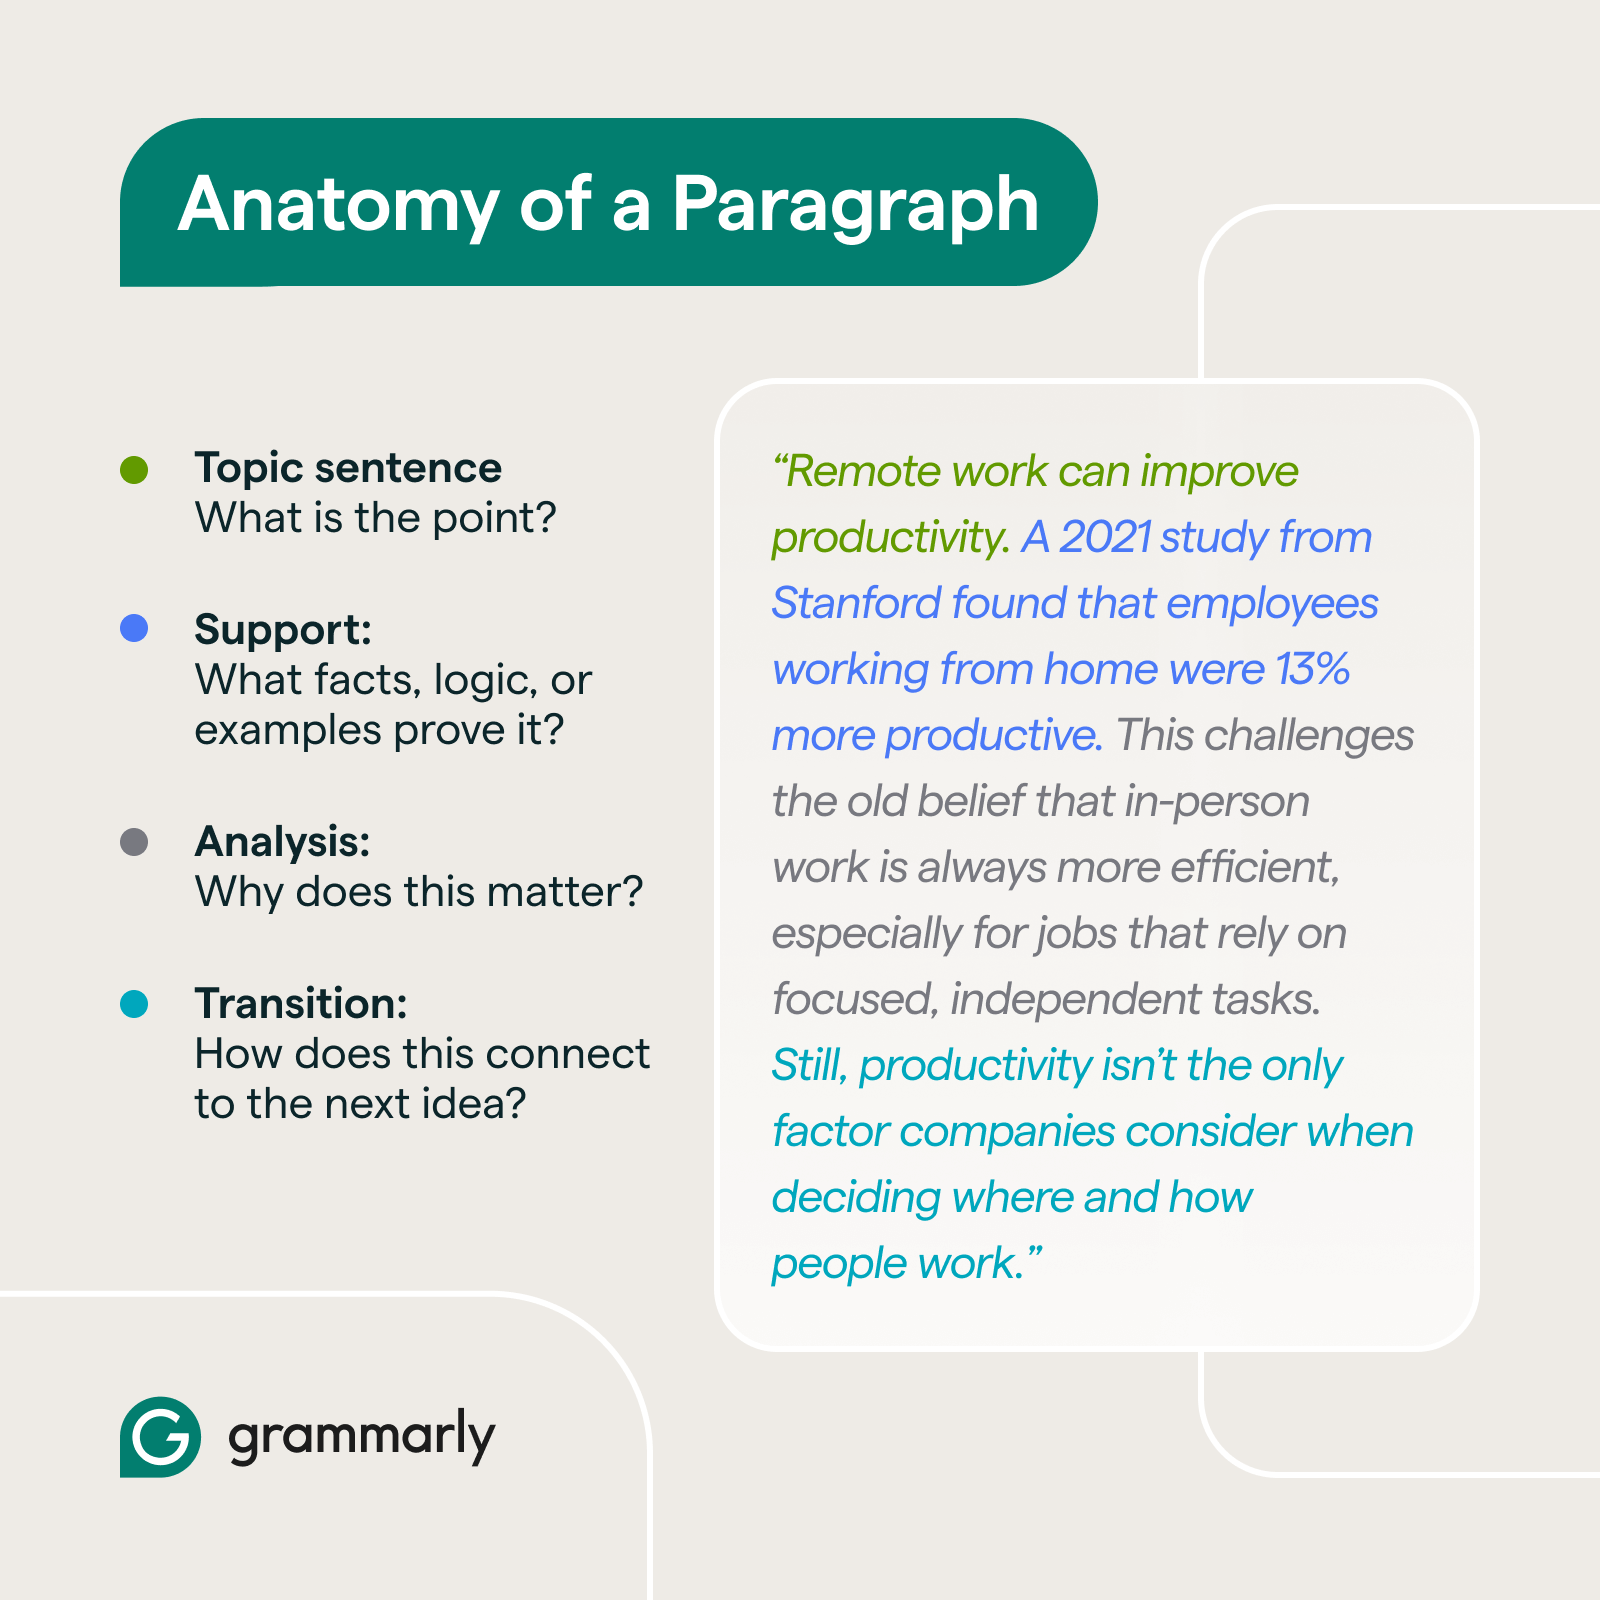
The body of your draft is where you expand on your main points. Each paragraph should center on one idea, introduced by a topic sentence. From there, use evidence, examples, or explanations to support your point.
Here’s a simple structure to follow for each paragraph:
- Topic sentence: What is the point?
- Support: What facts, logic, or examples prove it?
- Analysis: Why does this matter?
- Transition: How does this connect to the next idea?
Example:
Step 4: Push through the roadblocks
This is where many writers get stuck. Maybe you’re not sure how to connect your ideas, or everything you’ve written suddenly feels off. That’s completely normal.
The key is to keep moving forward. Don’t aim for perfect—just aim to finish. If you feel stuck, try these strategies:
- Use placeholders: Drop in quick notes like “[insert example here]” or “[transition needed]” so you don’t lose momentum.
- Set small goals: Try a word count target (like 200 words) or a time-based sprint (15–25 minutes).
- Don’t reread or edit: Resist the urge to fix things as you go. Trust that revision will come later.
- Write through doubt: Even if your ideas feel clunky or uncertain, getting them down is better than getting them “right.”
Step 5: Write your conclusion
When you’re ready to wrap up, revisit your thesis and summarize the key points you’ve made. A good conclusion reinforces your argument without simply repeating everything you’ve said.
You might also leave the reader with a final thought, call to action, or question that encourages further reflection. Whatever approach you take, aim to end on a strong, thoughtful note.
[tip] Focus on clearly tying your ideas together and leaving the reader with something to think about—you can refine the tone or wording during revision. [/tip]
Tips for writing an effective rough draft
Here are a few tips to help make your drafting process smoother:
- Write now, edit later: Resist the urge to fix typos or rephrase every sentence. Save that energy for revision.
- Be okay with messy: The draft doesn’t need to look good. It just needs to exist.
- Use notes: Jot down reminders about sources, quotes, or ideas to follow up on.
- Take breaks: Step away when you feel stuck—rest can spark new insights.
- Track your progress: Celebrate small wins, like finishing a paragraph or hitting a word count goal.
- Have a trusted peer review it: Share your rough draft with someone who can offer constructive feedback. Fresh eyes can help you spot gaps, unclear sections, or ideas worth expanding.
What to avoid
- Overediting early on: Resist the urge to perfect sentences during the rough draft phase.
- Ignoring structure: Stick to your outline to maintain organization.
- Neglecting transitions: Ensure each paragraph connects smoothly to the next.
- Forgetting your audience: Keep your reader in mind as you write—your tone, examples, and focus should all serve their needs.
- Skipping placeholders: Skipping a detail to keep your momentum is a great practice. But don’t forget to come back and expand on those items.
- Writing without breaks: Drafting takes focus. Step away when you need to so you can recharge and come back with a fresh perspective.
How AI is changing the drafting process
Drafting used to mean wrestling with a blank page, slowly building ideas sentence by sentence. Today, AI writing tools can jump-start that process by generating full drafts, outlines, or even starter sentences based on your input. The benefit? You get past the blank page faster and can focus on shaping your message.
But it’s still your job to revise, refine, and make it your own—AI is a starting point, not the finish line. It might miss nuance, include generic phrasing, or reflect surface-level understanding of your topic. That’s why treating AI as a starting point, not a shortcut to a final draft, is essential. The best results come when you use AI to generate ideas and rough content, then revise it with your voice, insights, and purpose in mind.
That’s where Grammarly’s AI comes in—it’s built to support writers through every stage of the writing process, especially the messy middle of writing a rough draft. And because Grammarly works where you write, you can work on your draft without breaking focus or switching between tools.
Here’s how Grammarly supports your drafting process:
- Jump-start your rough draft: Use Grammarly’s AI prompts to turn an idea or outline into a starting draft. Whether you need a hook, paragraph, or full response, Grammarly helps you generate content faster.

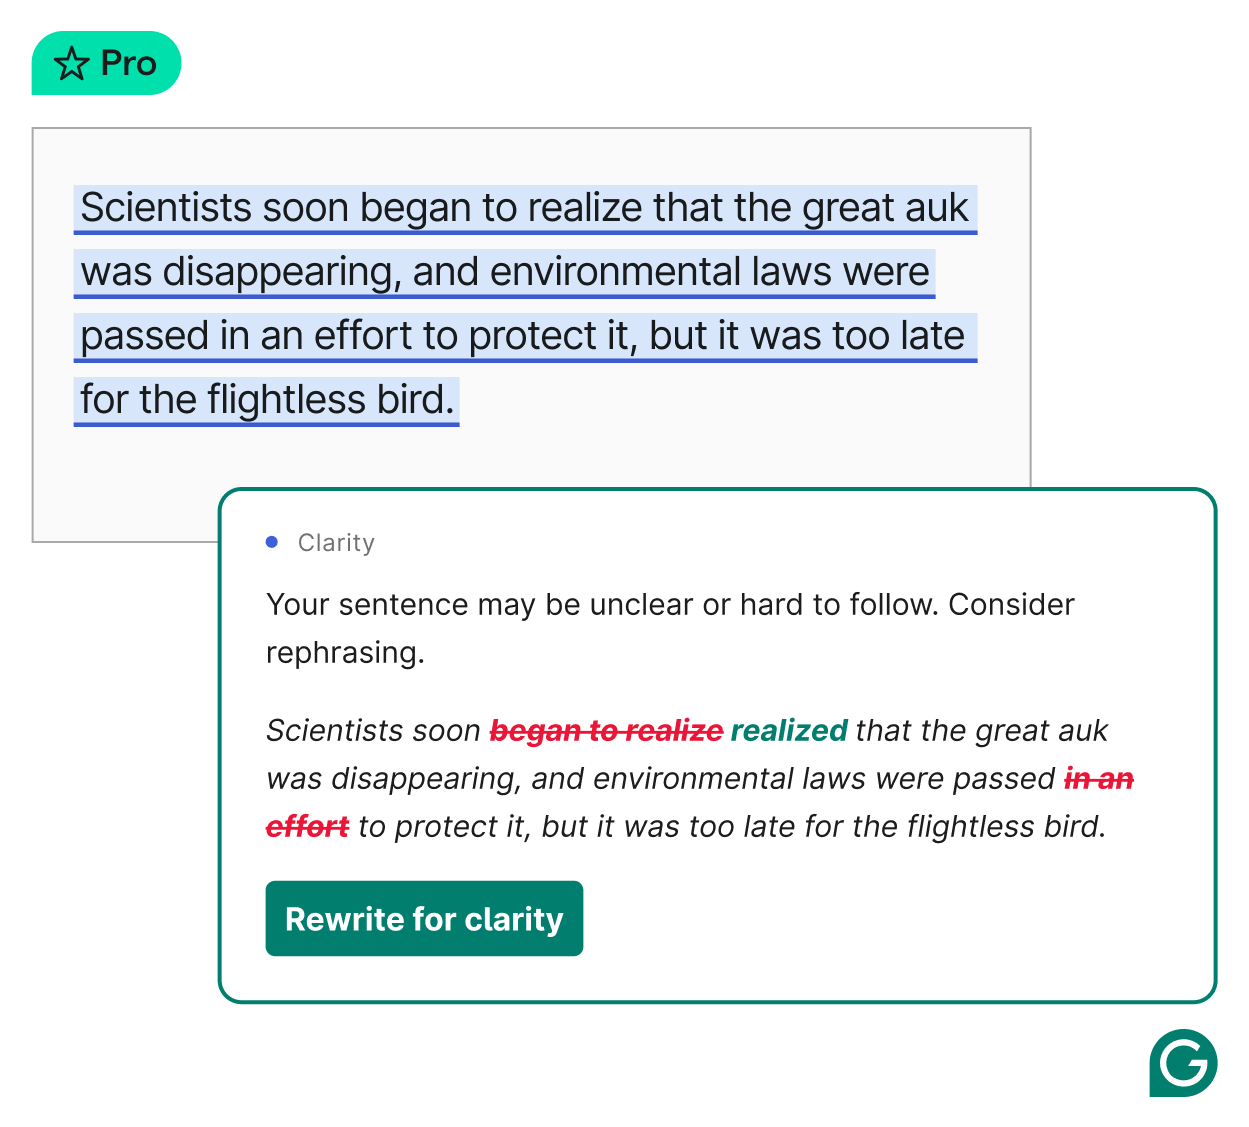
- Stay in flow as you write: Grammarly offers suggestions for clarity and tone in real time, helping you revise rough sentences without breaking your stride.
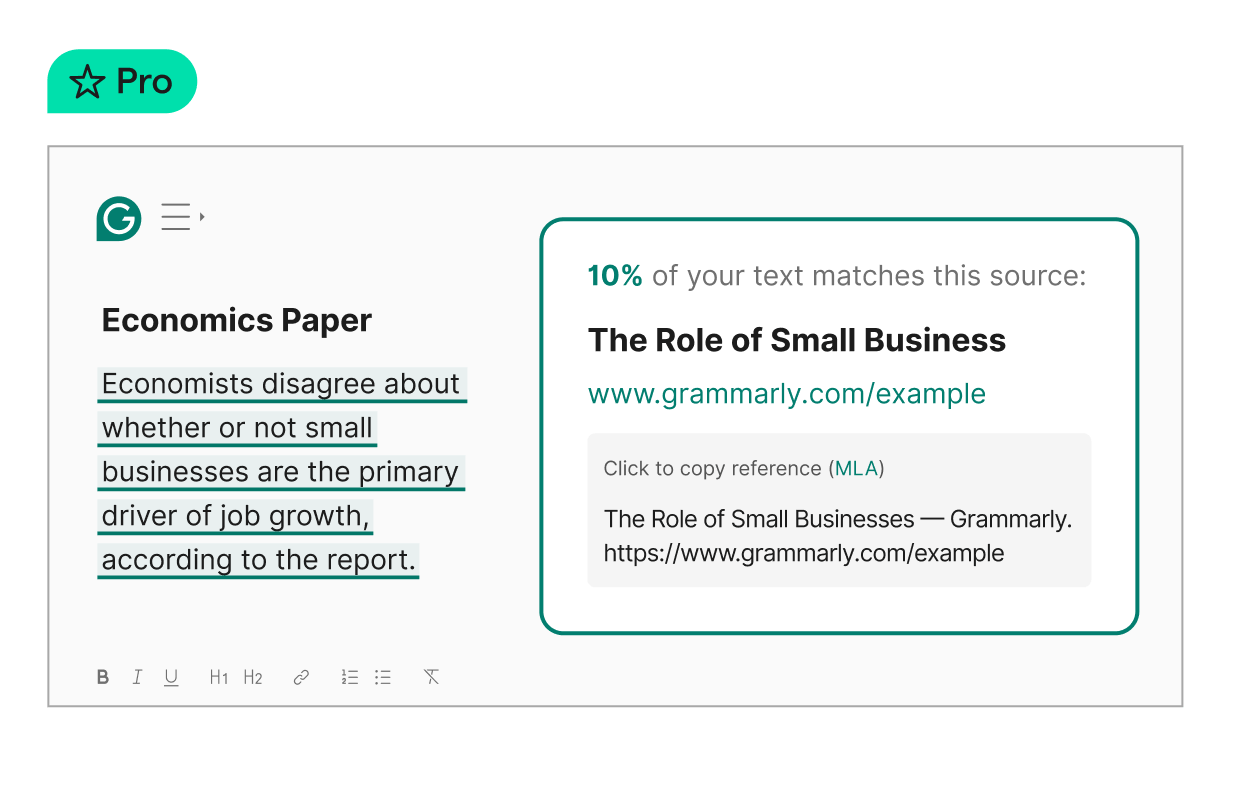
- Write without fear of unintentional copying: Grammarly’s built-in plagiarism checker helps you avoid accidental borrowing and maintain originality.
Make your rough draft writing less rough
A rough draft isn’t the final version of your writing—it’s the beginning of it. By getting your ideas down without pressure, you create the foundation for stronger, clearer, more compelling work. With these five manageable steps and a willingness to write imperfectly, you’ll break through the hesitation and into the heart of the writing process.
Rough draft FAQs
What are the three components of a rough draft?
A rough draft typically includes an introduction, body paragraphs, and a conclusion. The introduction sets up your topic and thesis, the body develops your ideas with support and examples, and the conclusion wraps everything up.
Does a rough draft have to be perfect?
Not at all. In fact, it shouldn’t be. A rough draft is meant to be messy—it’s a space to explore ideas, test structure, and see what works. You’ll revise and improve it later, so focus on getting your thoughts down rather than making every word flawless.
How long does it take to write a rough draft?
It depends on the length and complexity of the piece, but many people can draft a short essay (500–800 words) in 1–2 hours. Longer pieces may take several sessions. Setting a timer or writing in short sprints can help you stay focused and make steady progress.
How long should a rough draft be?
A rough draft should be about the same length as your final piece. If you’re aiming for a 1,000-word essay, your draft should be close to that—maybe slightly over, since you’ll likely cut or tighten during revision. It’s better to have too much content than not enough.
Does a rough draft need citations?
Yes, if you’re using outside sources, it’s a good idea to include at least rough citations. They don’t have to be perfectly formatted, but noting where your information comes from helps you avoid accidental plagiarism and makes the final citation process easier.